Creating a Choice activity
1. Click the Settings (wheel) icon and click Turn editing on in the upper right corner of your course.
2. Click one of the Add an activity or resource drop down menus and click Choice.

3. Give the activity a name and put in a description if desired.
4. Determine how you would like the choices displayed.

5. Now fill in the Choice response options in the numbered Choice boxes listed. Complete one box for each option you want the students to have.
Also determine if students can update their choice, choose more than one option, and if you are going to limit the number of responses allowed.

6. There are several optional Settings you can modify for your Choice. Click the Availability arrow drop down menu to display options for restricting answers to a specific time period.
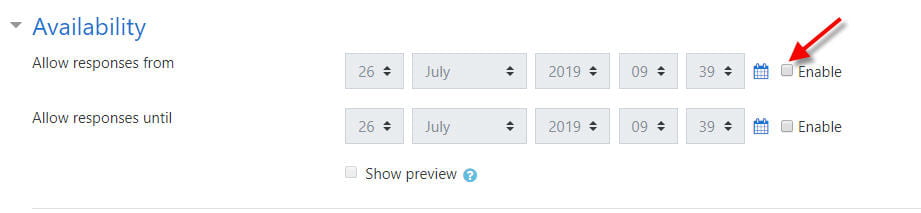 To set dates and times, click the Enable checkboxes, then set date/times.
7. By clicking the drop down menu arrow for Results, you can choose to let the students see the collective responses of the class. The default is set to NOT show results to students.

8. Once you have selected the settings you want, scroll down and click Save and return to course.