Using Multiple Sets of Groups and Restricting Access to Items
Moodle Groupings allow you to create different sets of groups. You may have a Metacourse (two sections of the same course) in which each section is in a group. Within each section/group, you might want to divide students into smaller groups to work on group projects. For this you would use groupings.
Groupings are also used to restrict access to a resource or activity to a subset of students. For example, you might want only Group A to have access to a particular resource because there are 6 members in their group and the rest have 5.
To use Groupings you must first have created at least one group.
While still under the Participants page, use the drop down menu on the left side of the course to select Groupings.
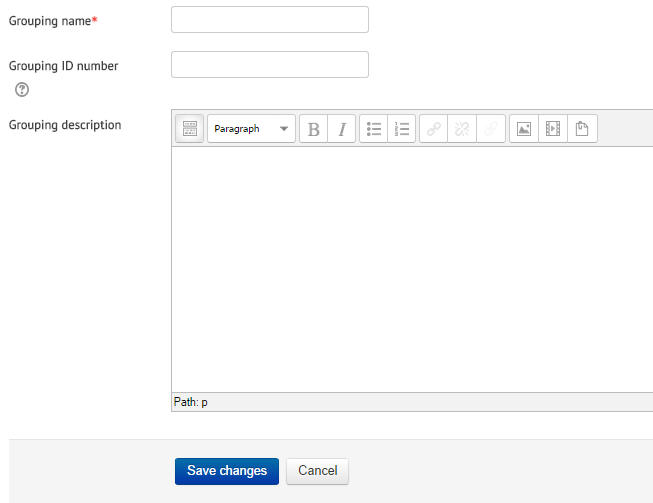
1. Click the Create grouping button.

2. Type a name for the Grouping and Click Save changes.
Add Groups to the Grouping
1. On the Groupings page, click the “show groups” icon in the edit column.
![]()
2. Select Groups on the Right and Click the Add Button to add Groups to the Grouping
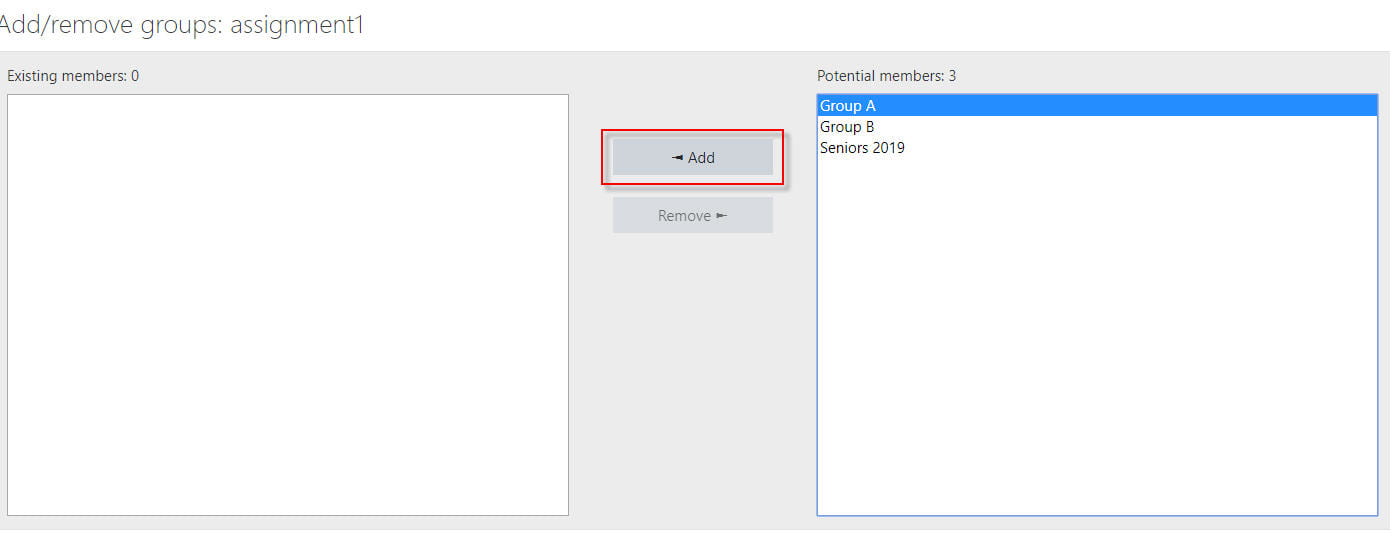
3. The Group(s) added now appear under Existing members of your Grouping. Click Back to groupings.

4. Now you can see your finished Grouping.
![]()
To restrict activities or resources to that grouping
- Click the three dots (Edit) next to the assignment or resource in your course page, then select Edit Settings.
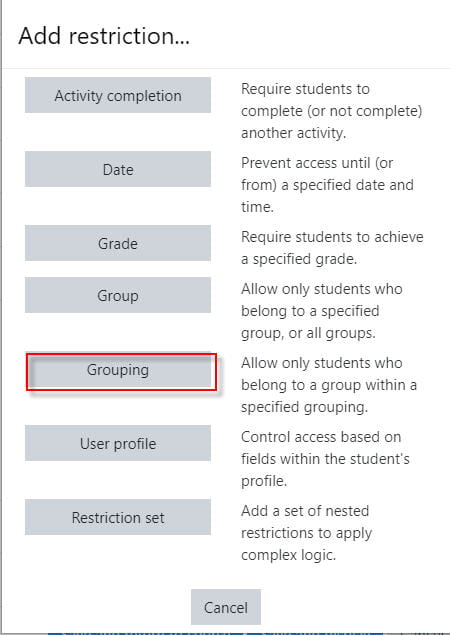
- Scroll down to Restrict Access and expand setting, then select Grouping.

3. From drop down menu for Grouping, select grouping you previously setup.
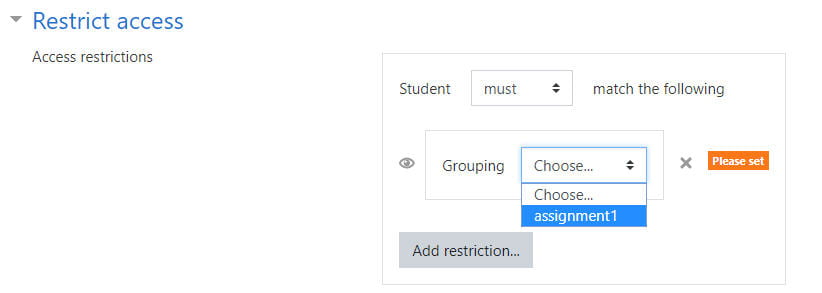
4. Click Save and return to course. Only students in grouping “assignment1” will be able to access this assignment, which is indicated on the course assignment.
