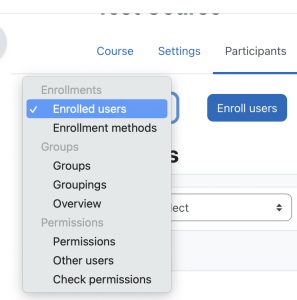
1. Click Participants from the Navigation menu at the top of the course page.

2. Click drop down menu on the left side of the page and select Groups.
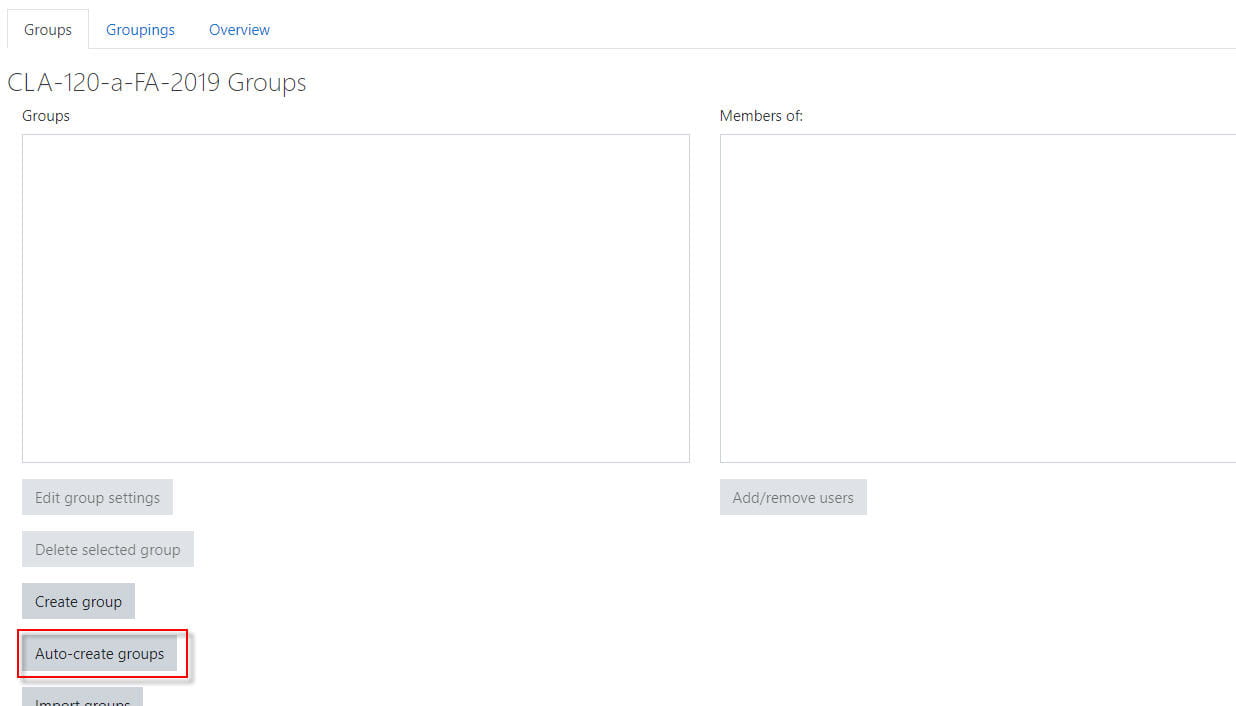
2. You will be taken to a screen with two columns: Groups and Members of. If no groups have been set up, both columns will be empty.
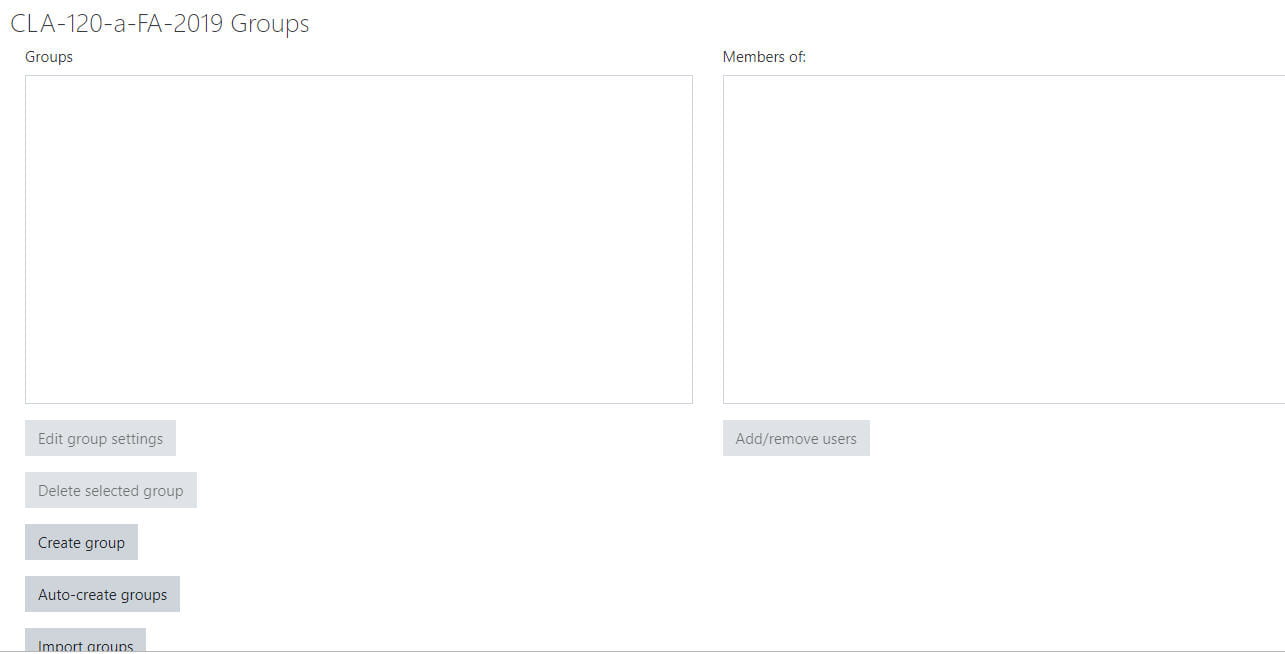
3. To automatically create groups, click the Auto-create groups button.
4. Enter a Naming Scheme (e.g. Group @ will generate groups named Group A, Group B, Group C; Group # will generate groups named Group 1, Group 2, Group 3)
![]()
5. Specify Number of Groups or Members per Group
![]()
6. Enter the Group/Member count
![]()
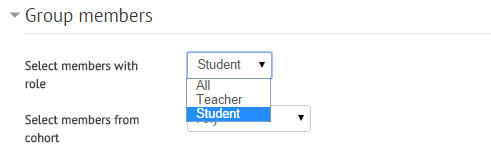
7. From the Select members from role drop-down menu, select role
7. With advance options shown, choose how you want to allocate members.

8. Click Preview to see your group selections prior to submitting.
10. If you are satisfied with the auto-selected groups, click Submit. If not, return to settings above and make necessary changes prior to clicking Preview again, or Submit.