Adding a Database Activity
There are two parts to setting up a database activity: 1 – the shell structure and settings, 2 – the field names and format.
Step 1: Setting up the database shell structure and settings
1. Click on the Settings (wheel) icon and click Turn editing on in the upper right corner of your course.
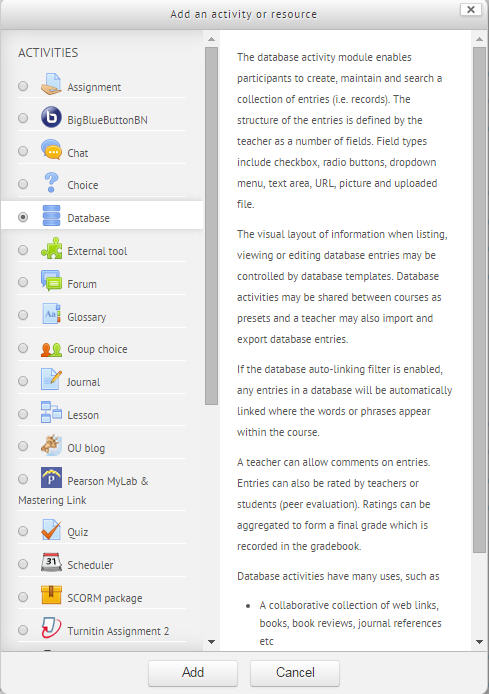
2. Click one of the Add an activity or resource drop down menus and click Database.
3. Add a Name for the database.
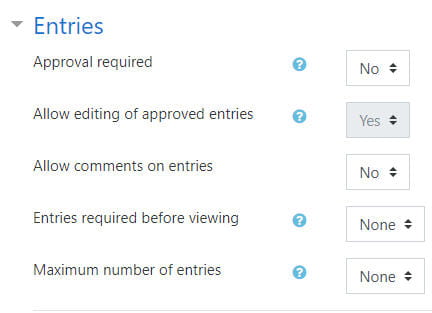
4. Expand the Entries menu to choose options for this assignment. ( Set these according to your assignment preferences)
- Whether instructor approval is required prior to student post being visible to others.
- Whether approved entries can be edited.
- Whether or not to allow students to comment on one another’s posts
- How many entries are required for submission to view other students’ posts.
- Maximum number of entries allowed.
6. Scroll down and click Save and display to begin setting up the database format.
Step 2: Setting up the database fields and formatting
1. The screen you will see after clicking Save and Display from previous step 6 is the Fields setup screen. ( To add the Poodll plugin as a Field type, See Poodll Database Submissions)
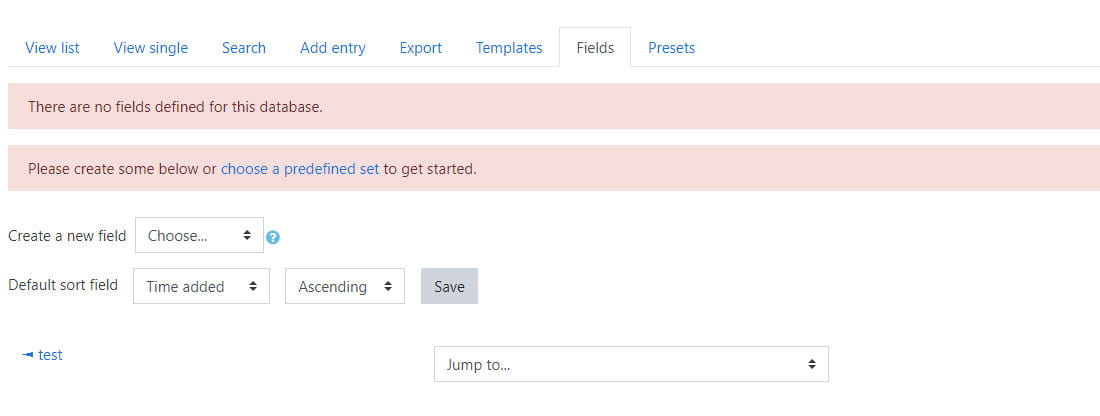
8. The first thing you will do is to click on the “create a new field” drop down menu to create a new field. Choose the first item you would like students to input when uploading a file.
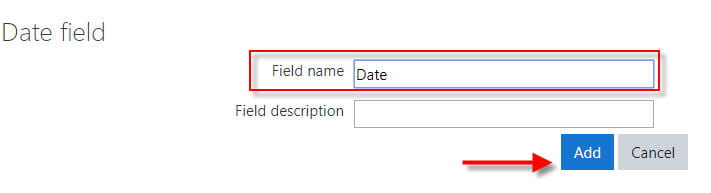
Often, the Date field or Text field are chosen as the first field. I chose Date for the first field.

9. Give the field a name and click the Add button
10. You will see the field listed on the next page.
![]()
11. Repeat the process with additionally desired fields such as File or Picture.
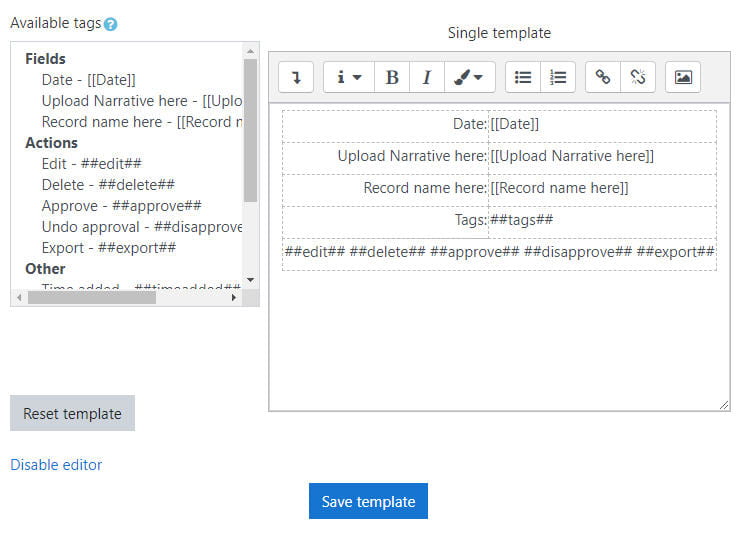
12. Once you have all of your desired fields added, we next need to save the Template.
13. Click the Templates tab and click save template to lock in the template. (If you make any additional changes to your template, you’ll need to do this again.)
(You should double check templates for Add Entry, View List, and View Single, particularly if you make changes, move, add, or delete fields after initial setup)
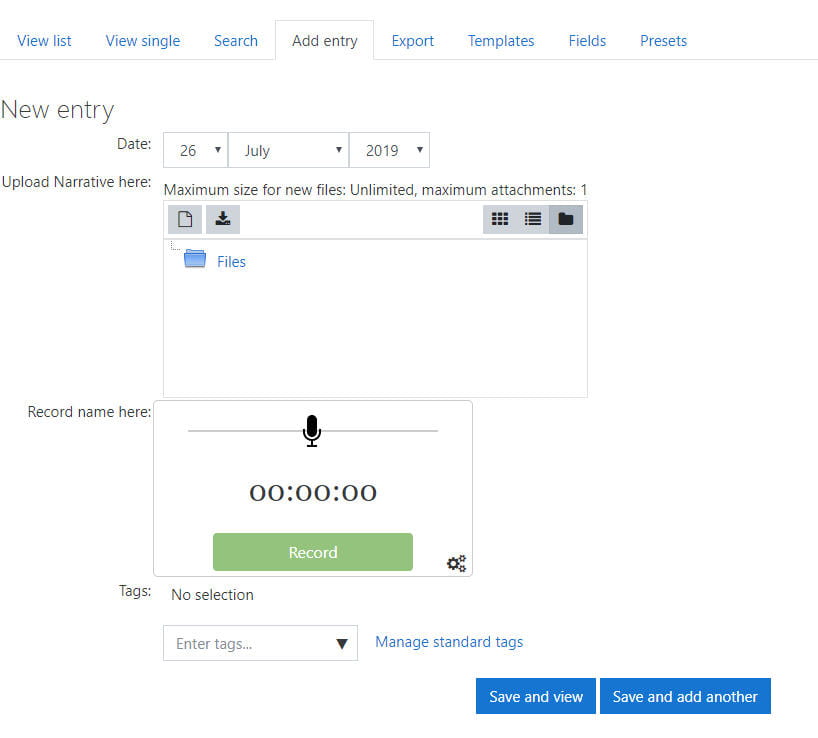
15. Click the Add Entry tab to see what the template will look like for students when they click on the database assignment.